Using Mobile Automation (ADC) for distribution
Type of handheld device, OS and web browser
For detailed information about smartphones, tested handheld devices, required OS versions, and recommended web browsers, refer to the Sage X3 Services installation documentation.
Log in to Mobile Automation
Operating mode
-
Select or scan the URL on first use and open the handheld page: https://loginUrl/handheld.
To navigate to the handheld pages, refer to the Sage X3 Services installation documentation. -
For the Sage Business Cloud, enter your Sage ID for Sage X3 to log in.
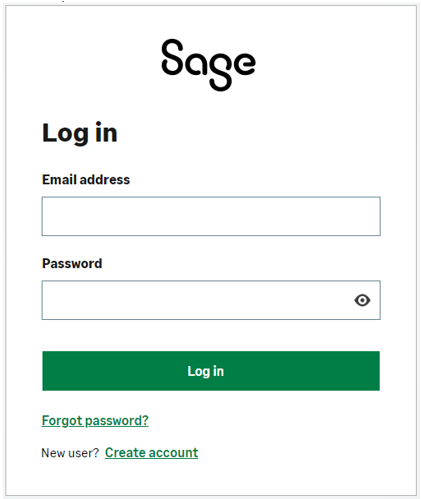
For V12, enter your Sage X3 credentials to log in.
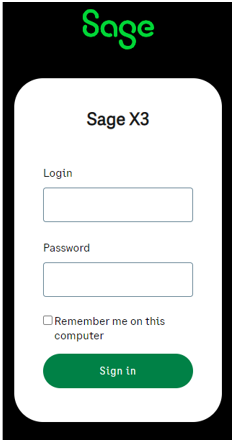 Note - informationWhen you use the application on your smartphone, do not select Remember me on this computer.
 -
Then, we recommend you create an icon on the handheld home screen to easily access the web application login page the next time.
How to add this icon
-
Log in to the Mobile Automation application (UI) with focus on the home page.
-
Next to the URL, tap the ellipses (Customize and control Google Chrome).
-
Select Add to home screen.
-
Tap Add.
The icon should appear on the device home screen.
In this case:
1. Log out of the Mobile Automation application.
2. Log into the desktop application.
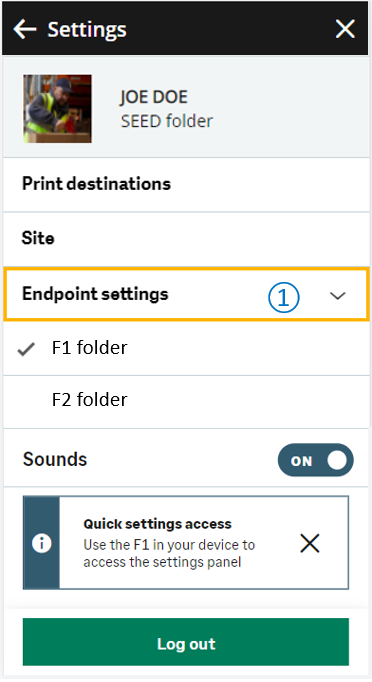
3. Select the right endpoint (functional folder).
4. Log in again to the handheld device. The endpoint selected on the desktop application is used as the default endpoint folder.
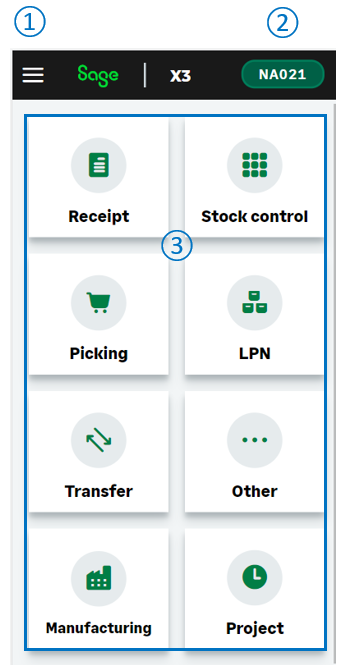
Home page
Once you are connected, a home page opens. It displays:
-
The navigation panel with the list of transactions grouped by categories in dedicated menus.
 |
|


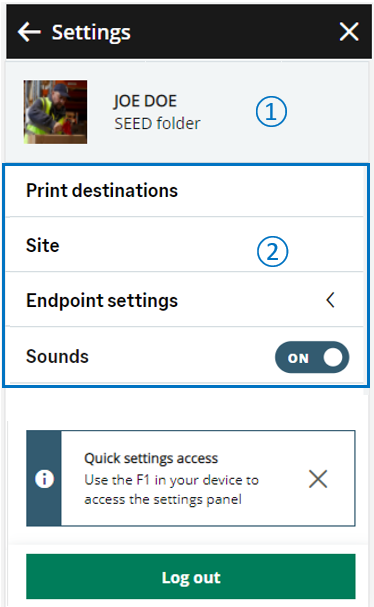
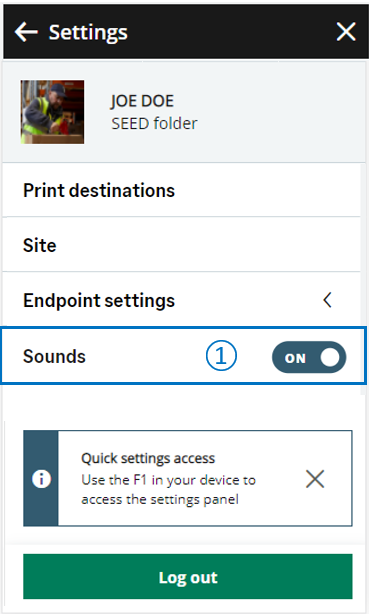
Set up your Mobile Automation device
Some default settings are defined in your current Mobile Automation session. To display and modify these settings, open the hamburger menu available from the header. You can also use the F1 shortcut.
 |
|
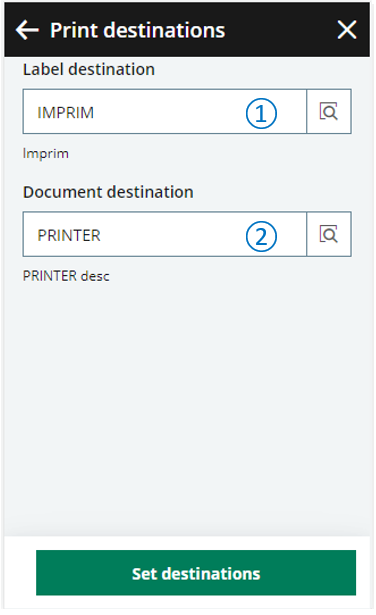
Print destinations
 |
|
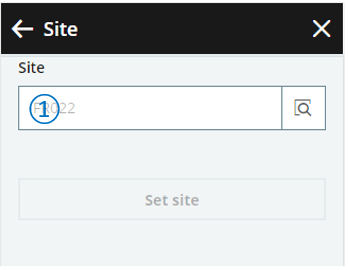
Site
 |
|
Endpoint settings
 |
|
Sounds
As you may not always look at the screen when using your device, sounds help you in your operational tasks.
-
When you perform the following tasks, a sound confirms that the operation was successful or alerts you to an error.
-
You scan data.
-
You select the Create or Submit action in the transactions.
-
-
When you enter data, a sound alerts you only in case of errors.
 |
|
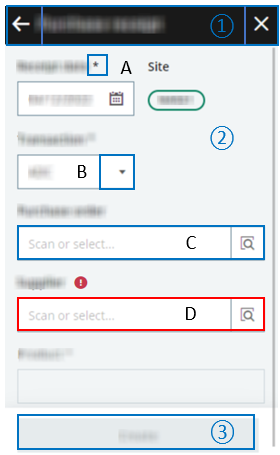
Navigate through transactions
Each page is divided into 3 sections:
 |
|


Log out of Mobile Automation (smartphones)
-
Log out from your account.
-
Swipe up the page from multiple page display to reset your application history and empty your cache.